Linear Issue Tracker
About this template
This template is composed by 4 main databases and includes extensive documentation.- [Issues]: Database of all your tasks/tickets, showing their related projects and cycles.- [Projects]: Database of projects, where you can easily view all of the issues within a project. These are custom to your business and should reflect the way you break down work, the template has 3 example projects you can rename or delete.- [Cycles board]: Board that shows the tasks for the current cycle.- [Sprints] : Database of current, future and past cycles.[Issues](the way Linear calls database items - the tasks that need to be worked on) is the main database. Each [issue] is a Notion page so what you can write in there is quite powerful, and you can create custom templates. Note you can create templates in Linear as well. Qw created a simple template called `A new issue` that you can access by clicking the "New" blue button.The Issues database mimics Linear's standard fields very closely. In Notion, unlike Linear, you could add more fields to your liking. All fields are optional except the issue name.These are the fields of the [database schema]:- Issue name (main Issue title - text)- status (single select)- priority (single select). Unlike Linear, the options can be customized, but in the template they mimic Linear’s: - Urgent - High - Medium - Low- assignee: this is a Notion user who is in charge of working on that issue- label (multi-select): This a customizable tag-like property you can customize to better categorize and filter- Sub-issue: an issue with its own unique ID that can be associated to a “parent issue”. Useful to break down larger deliverables into smaller issues.- Blocked by (Relation to other issues)- Blocking (Relation to other issues)- Due date- ID: this is a numerical unique identifier. We use Notion’s native ID property- Created time: this is auto-generated by Notion, it’s a timestamp of when the issue was created, useful for sorting and filtering.- Relation to [Sprints] database. Assign issues to the corresponding Cycle when you plan to work on it. At the end of each cycle, you go to [Cycles board] and click “Complete cycle” button on the top right, - You'll be asked to confirm the dates of your next sprint and what you'd like to do with the incomplete tasks. Click `Complete Sprint`. - The status of your `Current` sprint will be changed to `Past`. The status of the `Next` sprint will be changed to `Current`. - The tasks on the board will reflect the new `Current` sprint. - A new `Next` sprint will be created if none exists.- Relation to Projects database - Projects database: a project is a collection of issues. Just click on the list of issues to assign them to a project, or vice-versa. These are the fields, mimicking Linear: - Status - Target date - Project lead - project members - Related issues - Progress (auto-calculated based on the issues associated with the project)- Estimate points: - You can pick t-shirt size or points. These are taken into account to estimate completion % of the project.- GitHub pull request: link to pull request in GitHub if applicableDatabase views are filtered view of the Issues database.We created a few views in the Issues database that are linked in the right side menu, but also accessible from the Dropdown menu, but you can create many more. The "Aging issues" view for example does not exist in Linear and uses Notion's timeline view to show how long have the issues been open.See documentation for a list of differences between the native Linear app and this Notion template.
Categories
About this creator
More by Notionize
More like this
Activate with AI
Use this template with your voice in three easy steps
Turn this template into an AI powered voice assistant.
Capture, organize, and get answers from this template – all with your voice.
Step 1
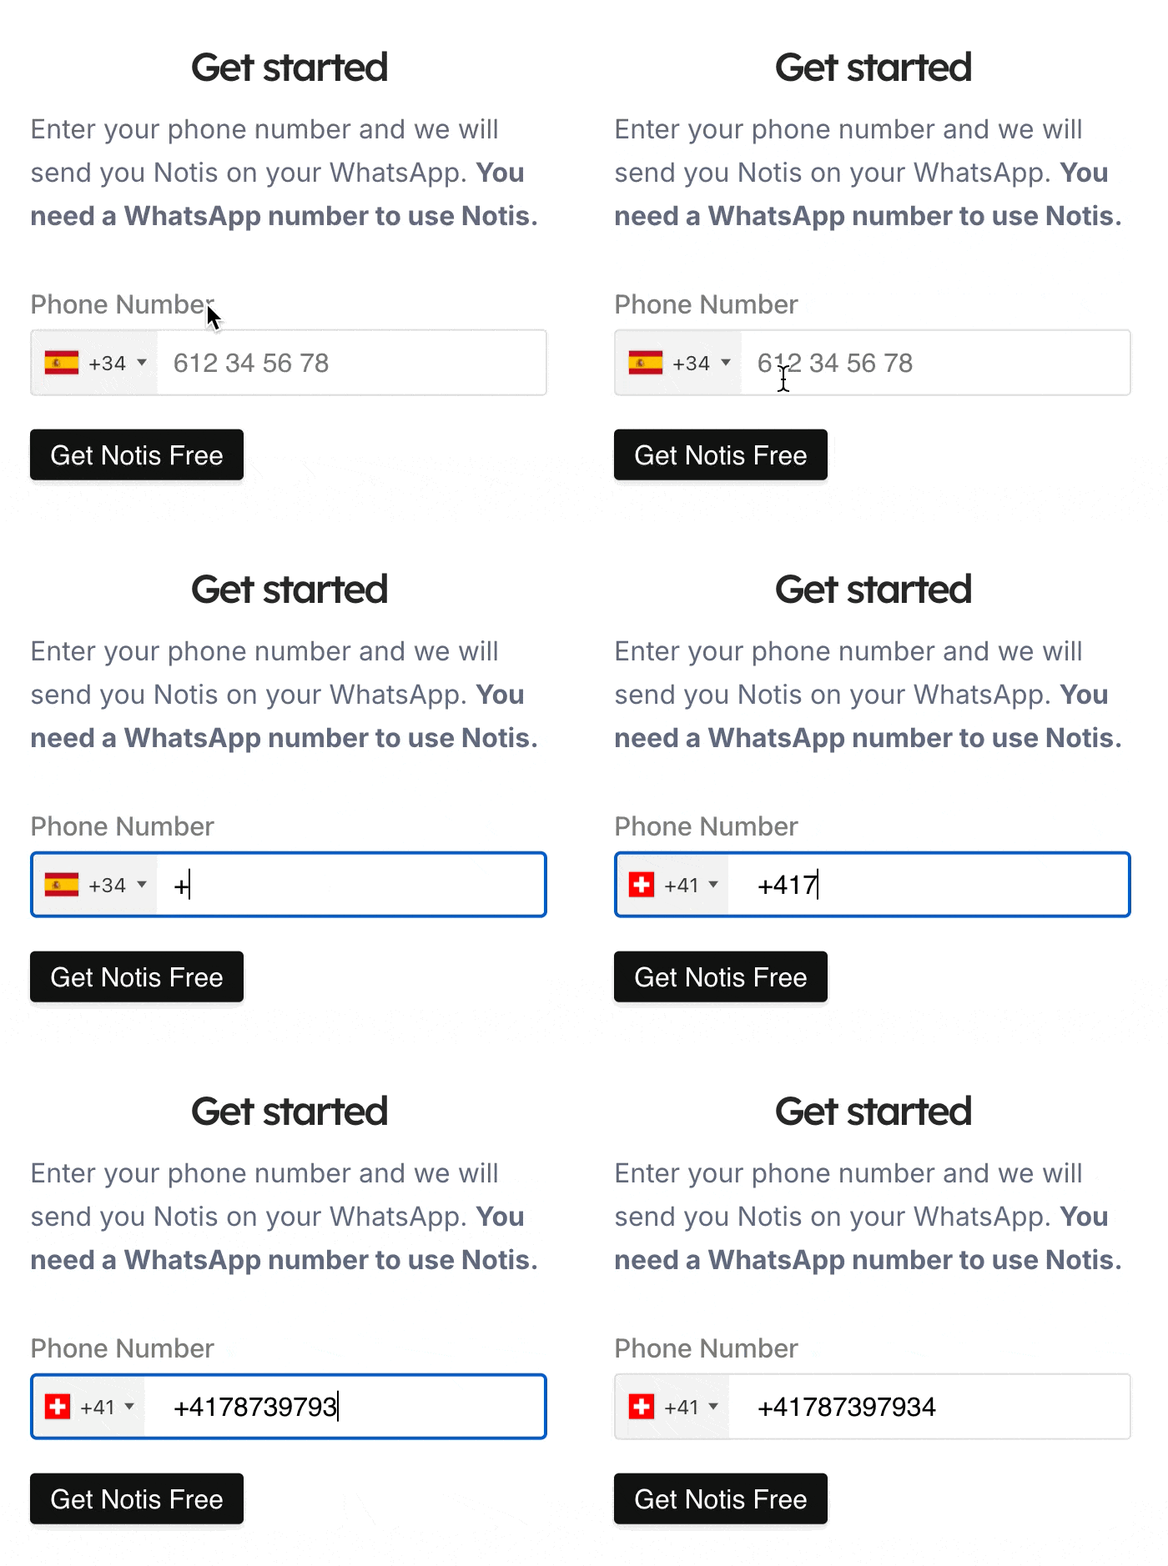
Create your Free Notis account.
Step 2
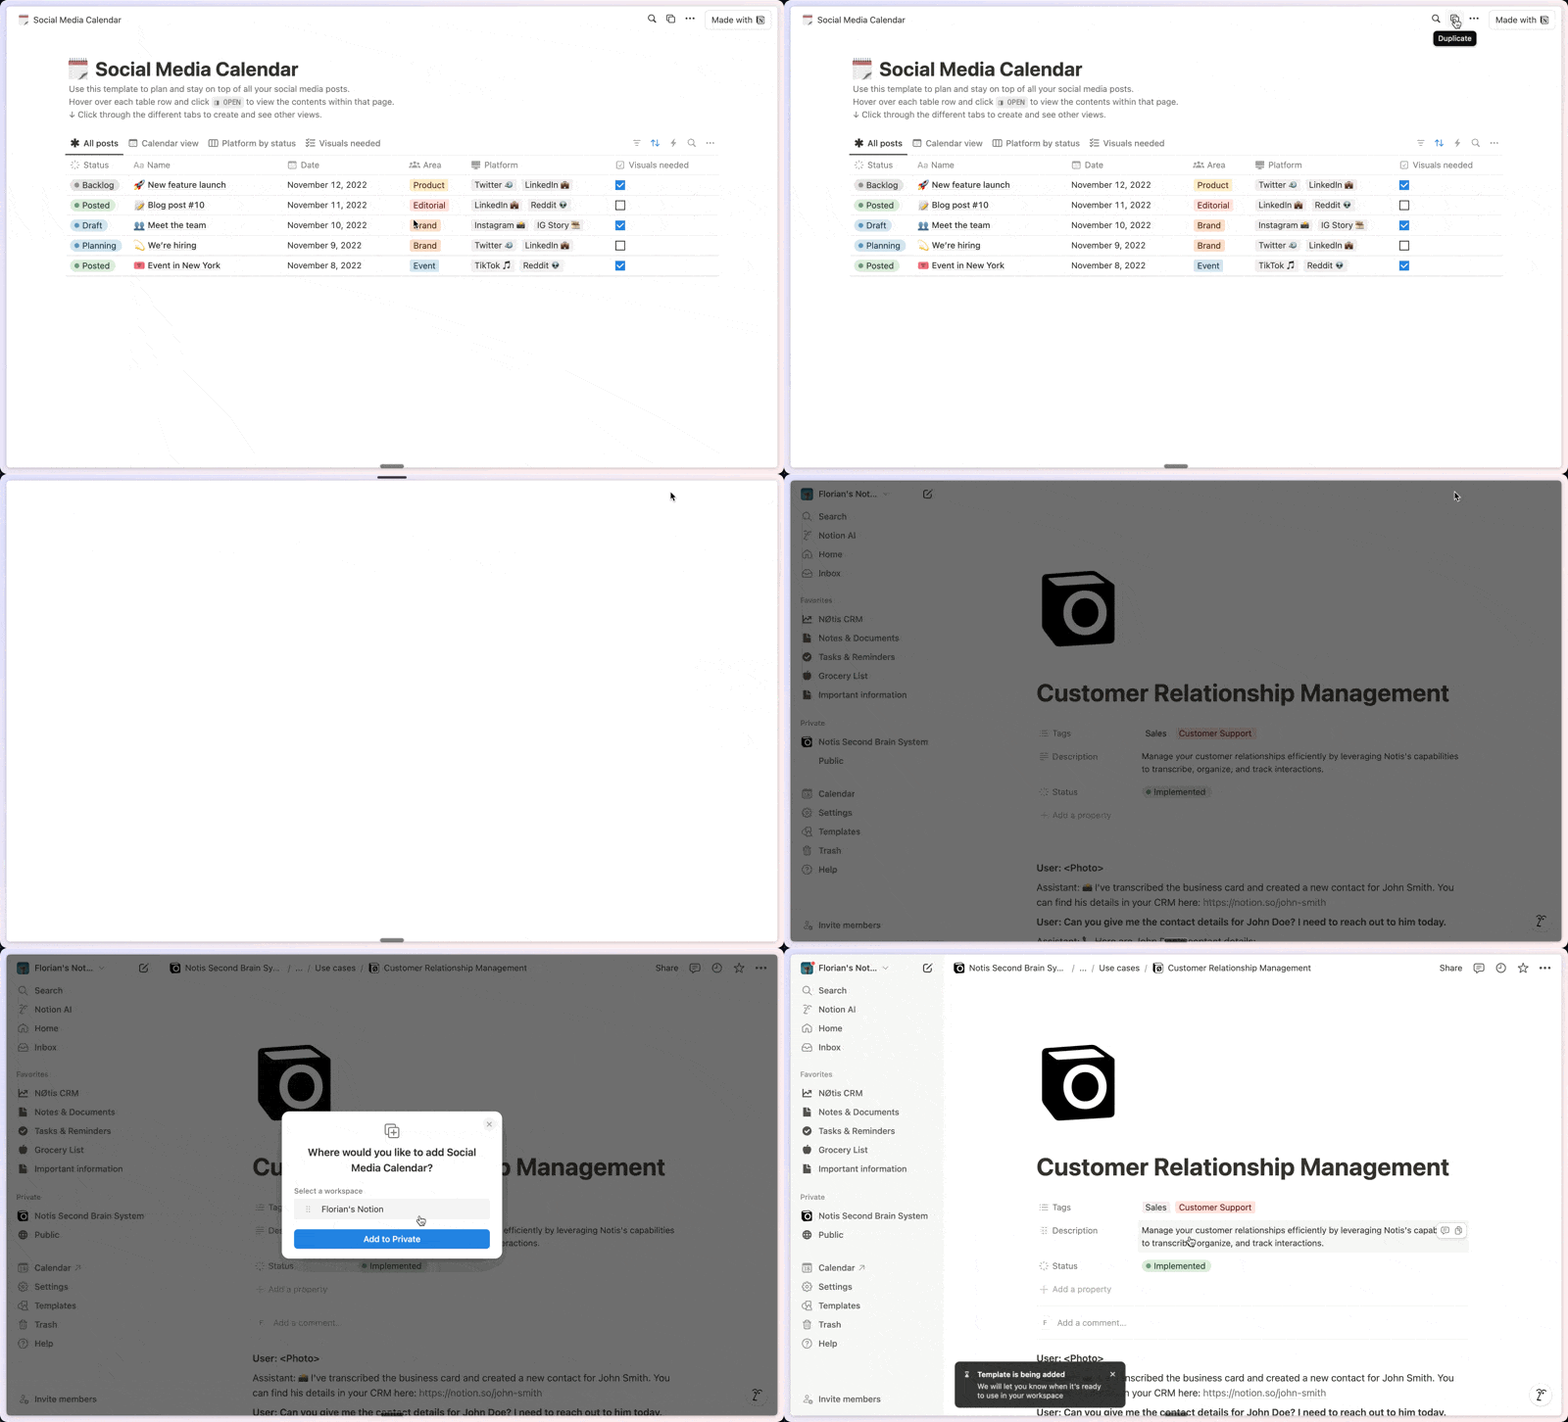
Duplicate this template in your Notion workspace.
Step 3
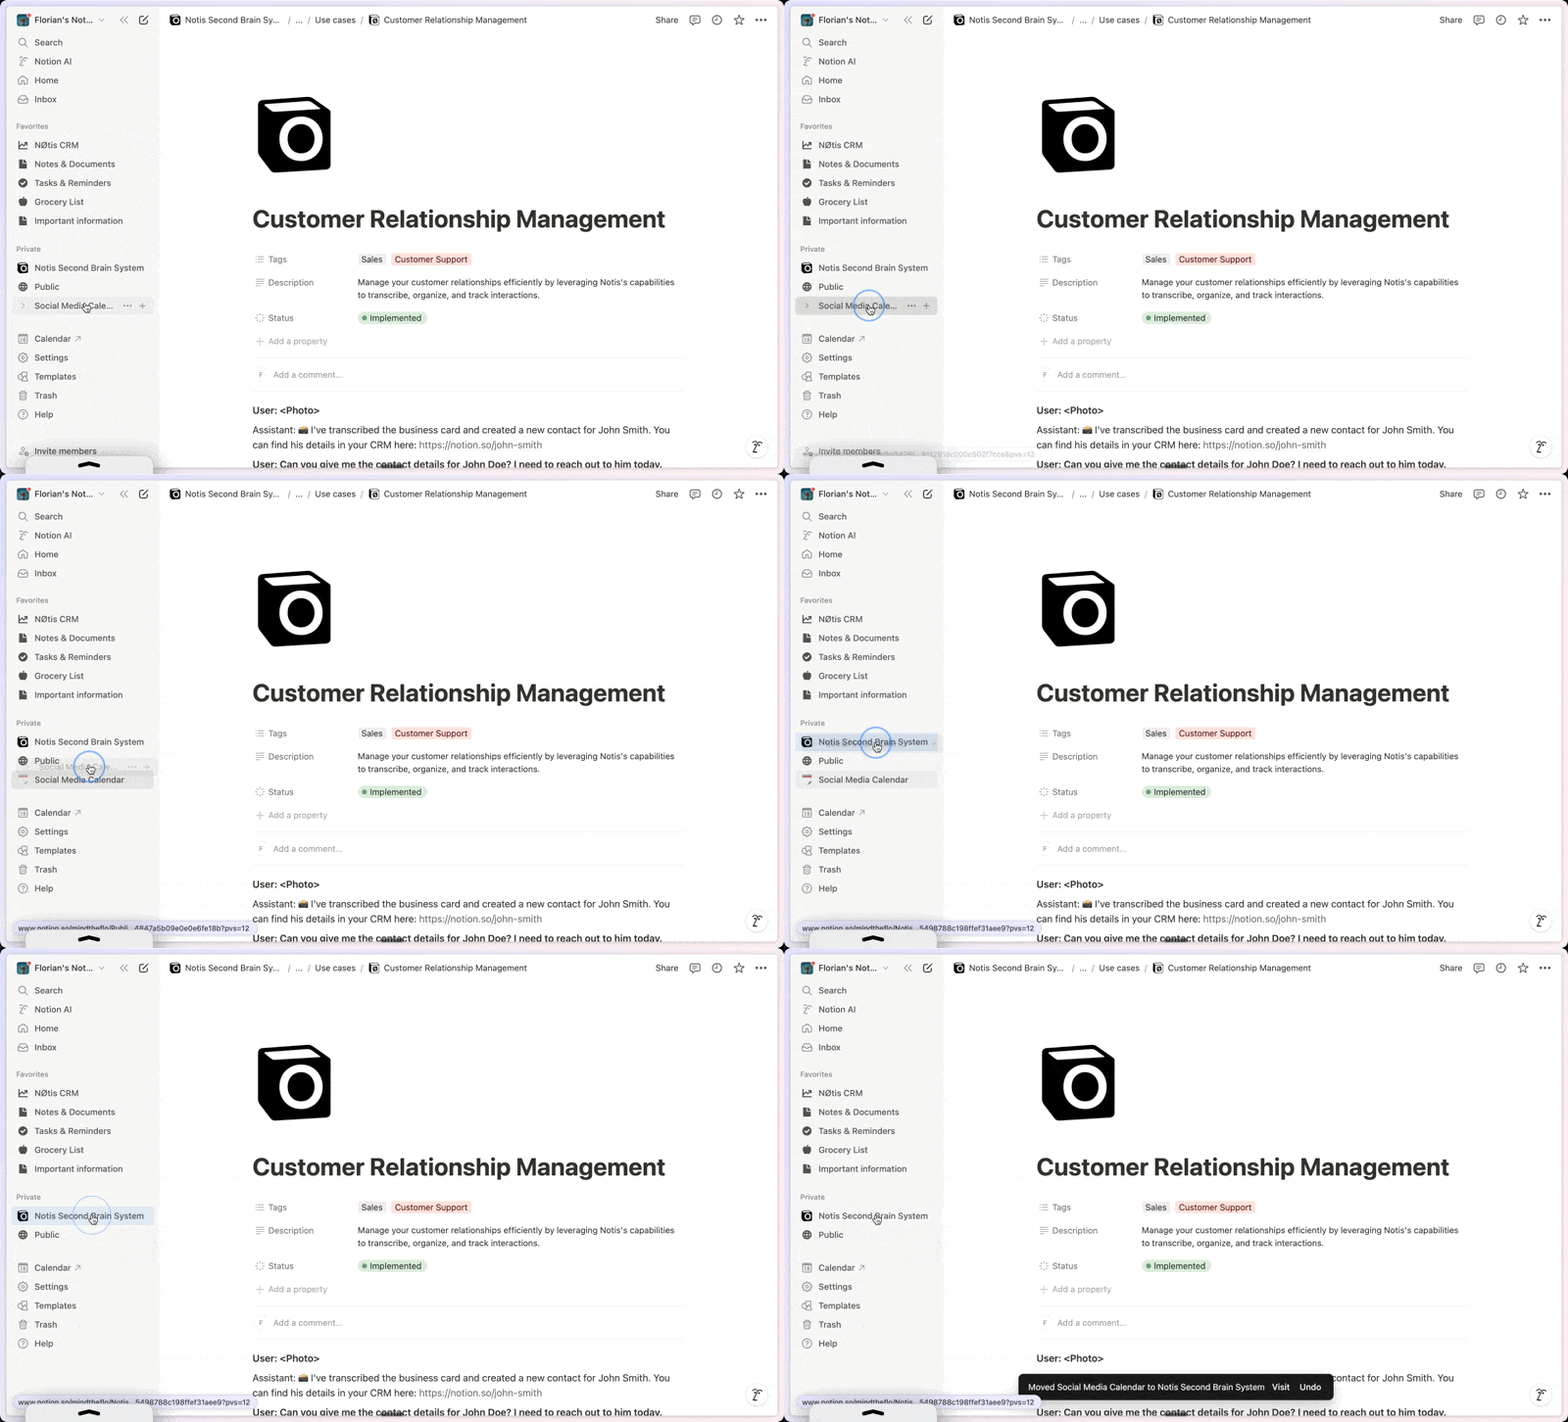
Drag and drop your template in the Notis Second Brain System page and ask notis to sync your databases.


